Customer Portal Quickstart
Learn how to get started with managing your units and instruments on the Customer Portal.
Step 1
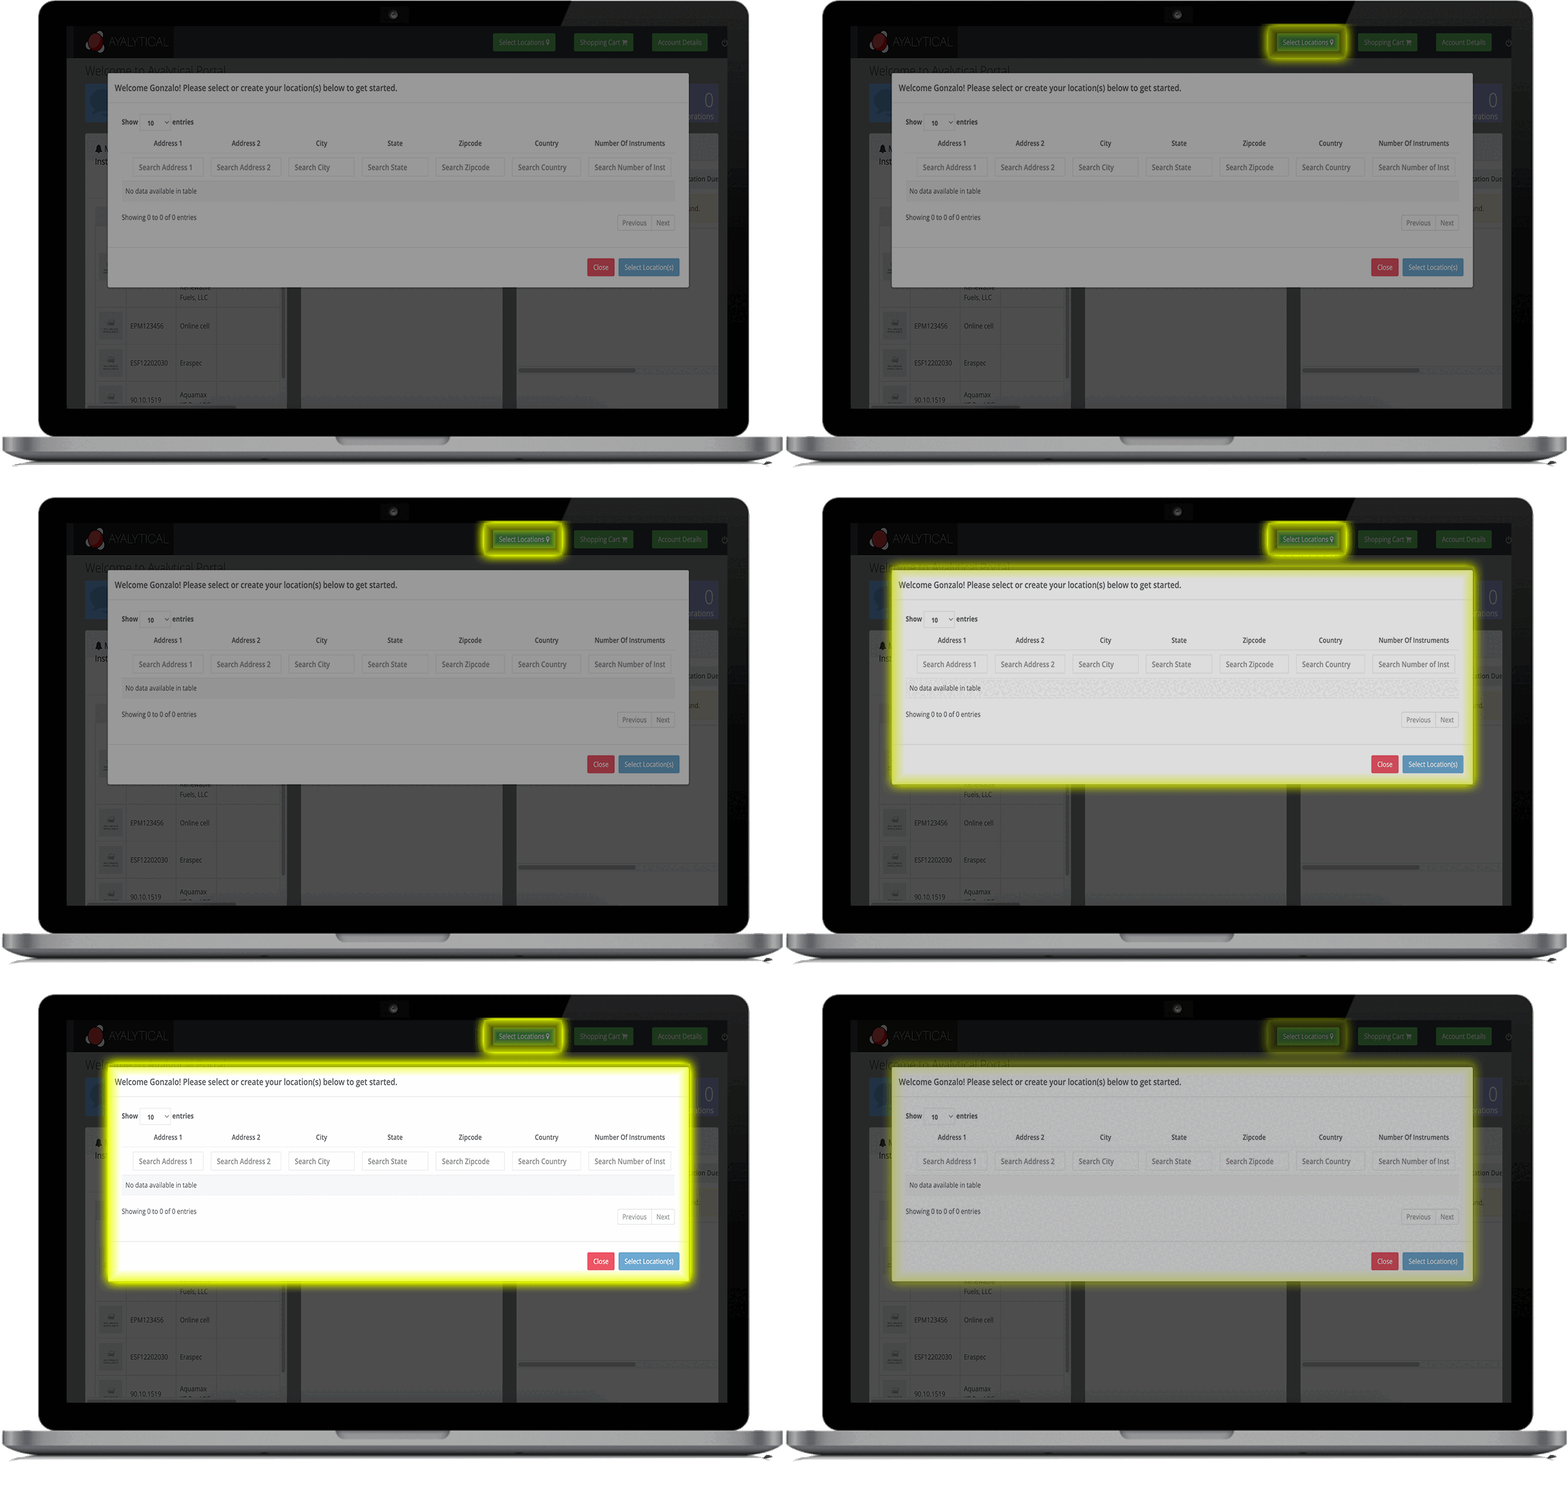
Adding Unit Locations
After signing in you will be directed to add all the locations you would like to populate your units.
Step 2
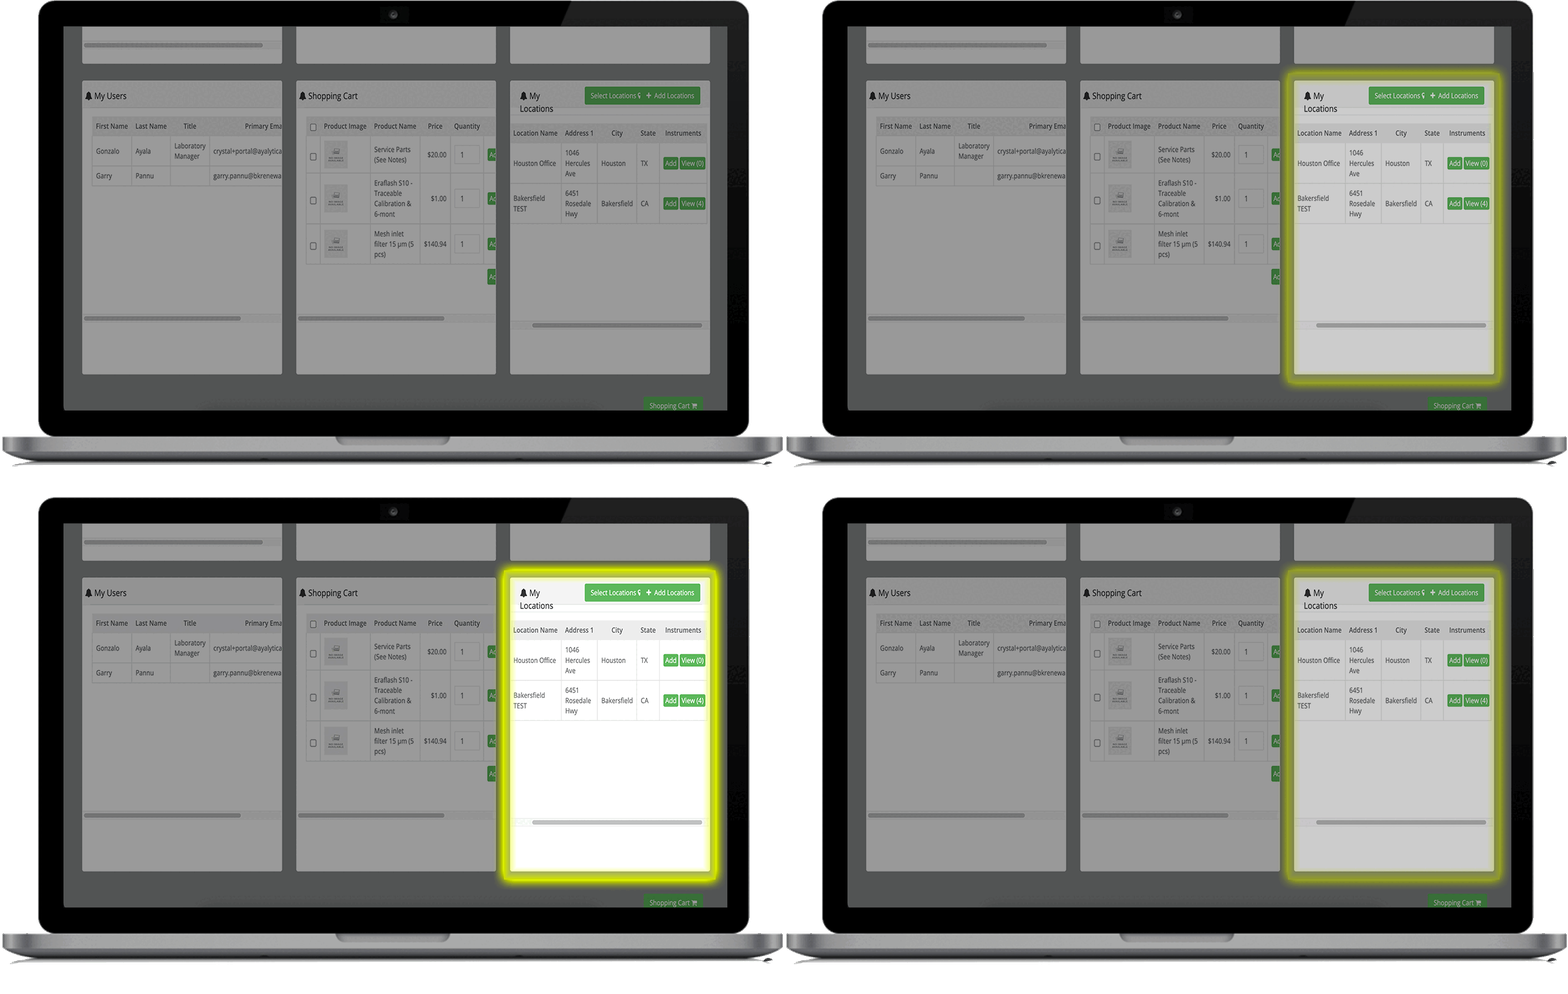
Adding Instruments to Each Location
After adding in location make sure to add in your instruments for each location that will be populated already for you.
Step 3
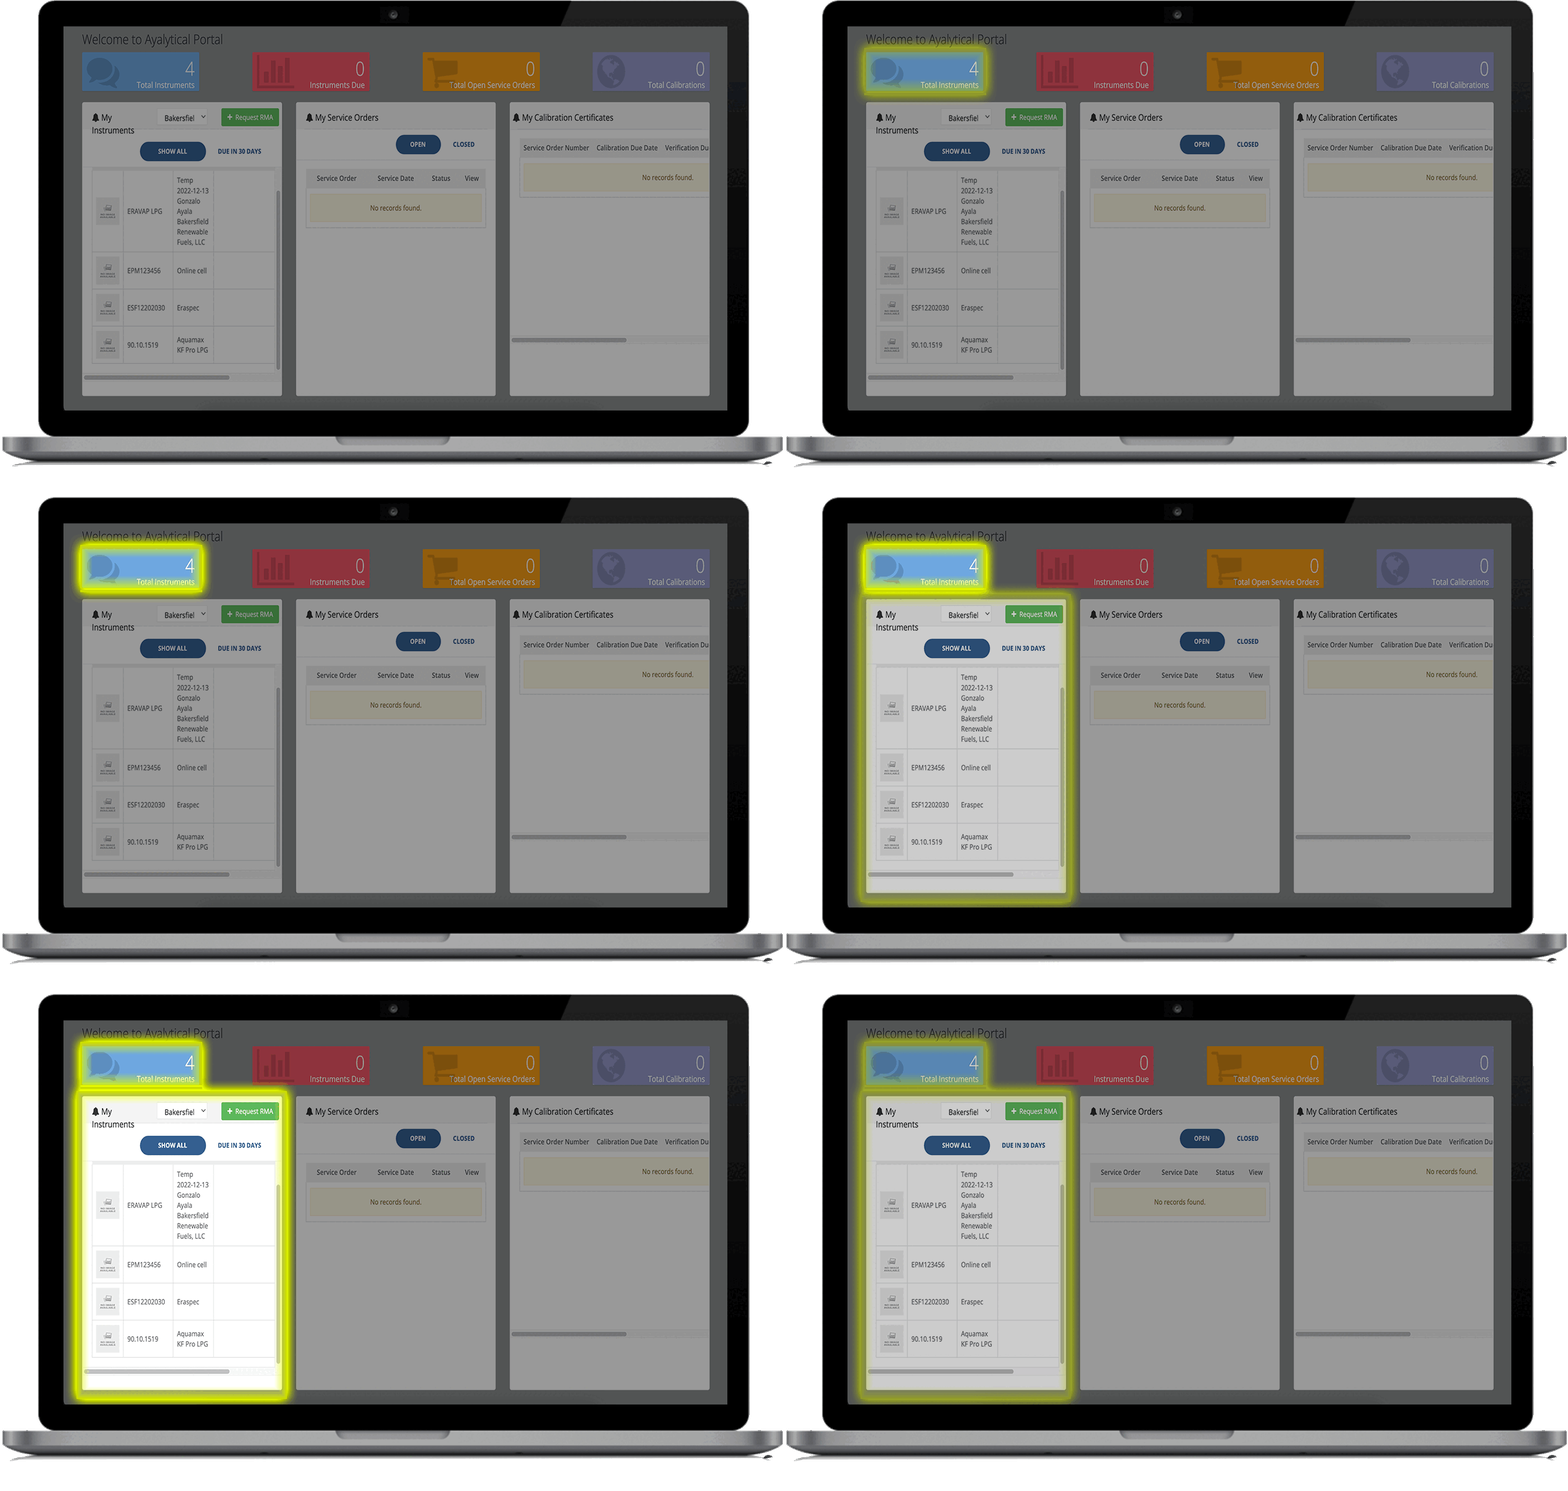
Verifying Serial Numbers of Total Instruments
Click on total Instruments and double check all serial numbers look right.
Step 4
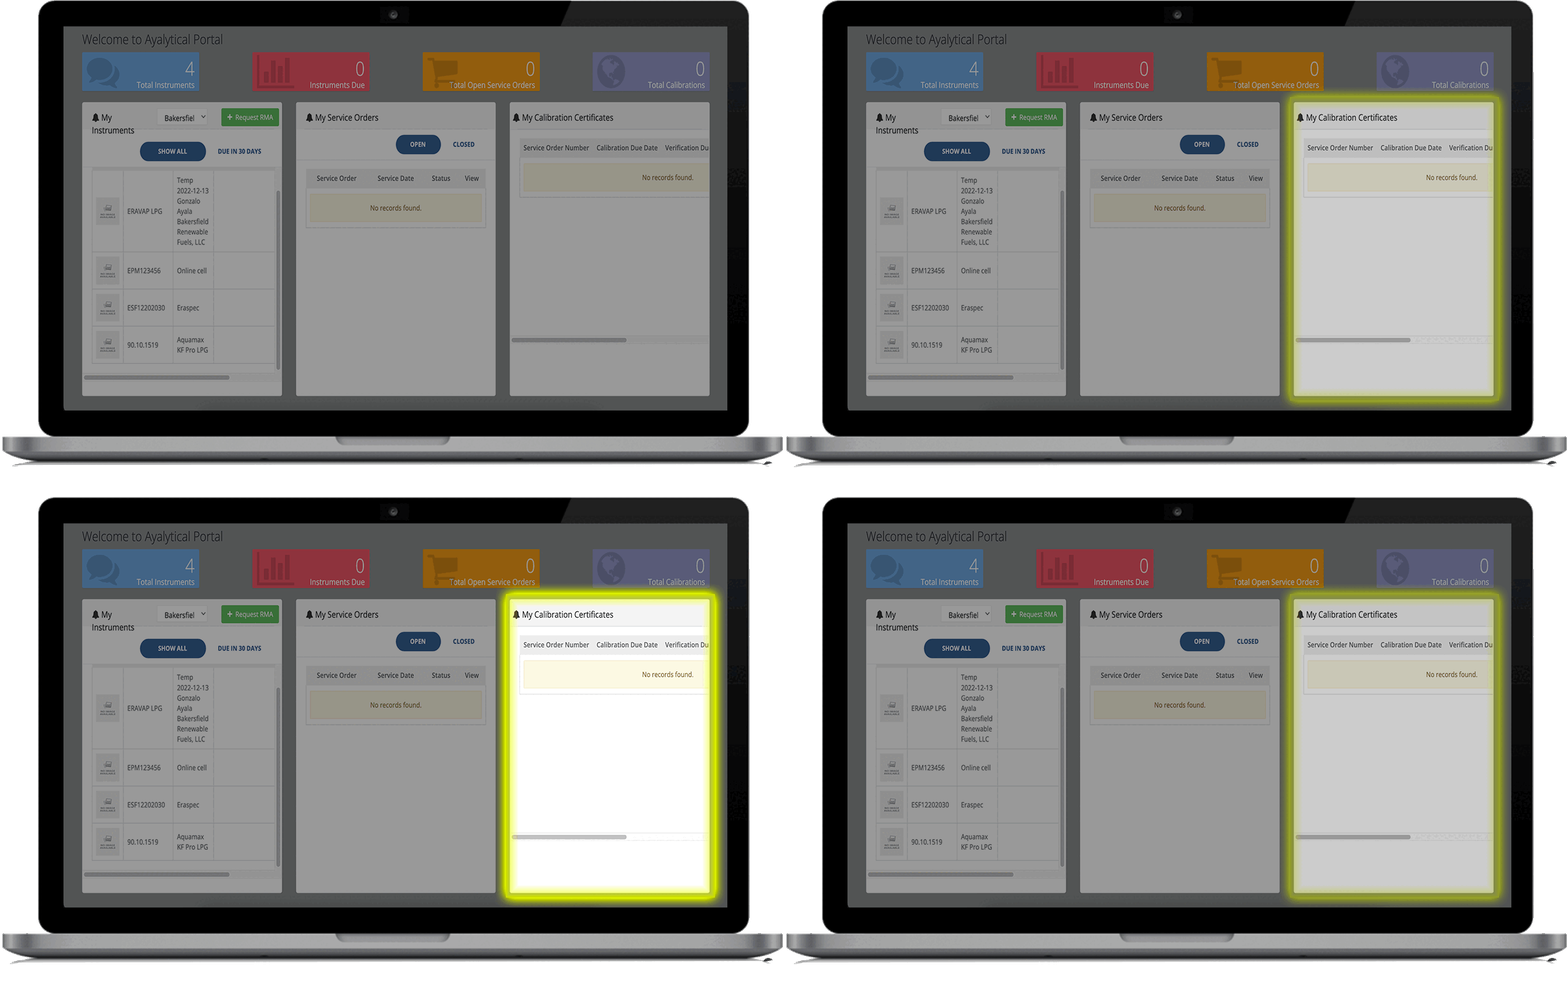
Checking Calibration Certificates
Check to see your calibration certificates.
Step 5
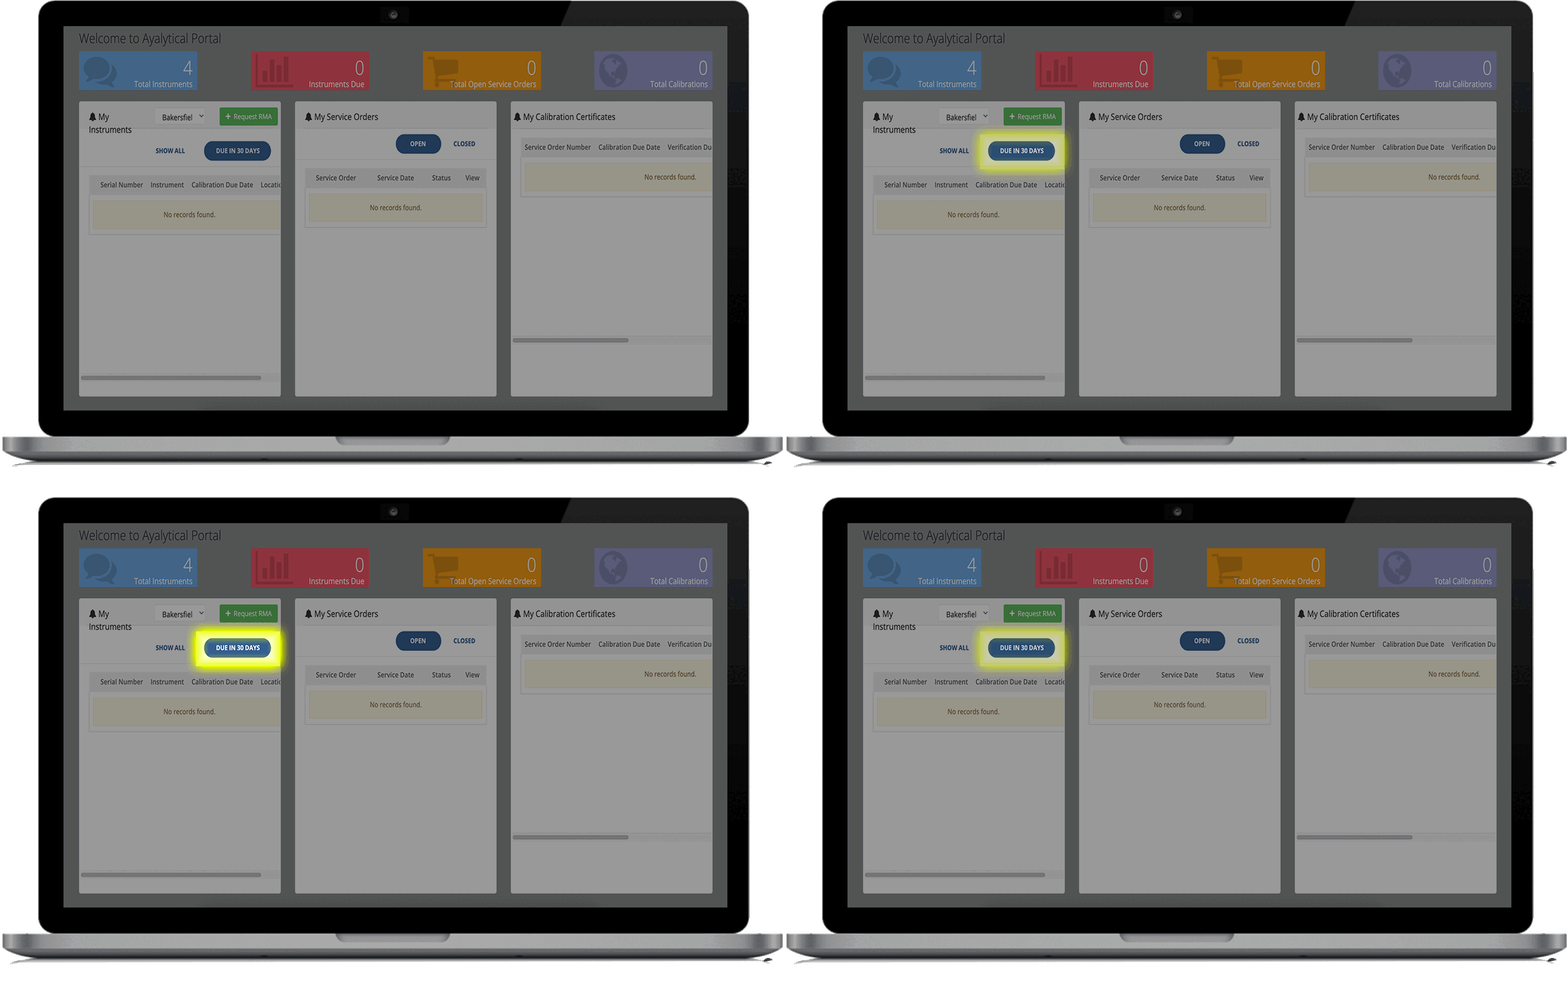
Reviewing Upcoming Calibration Due Dates
Check to see your calibration certificates.
Step 6
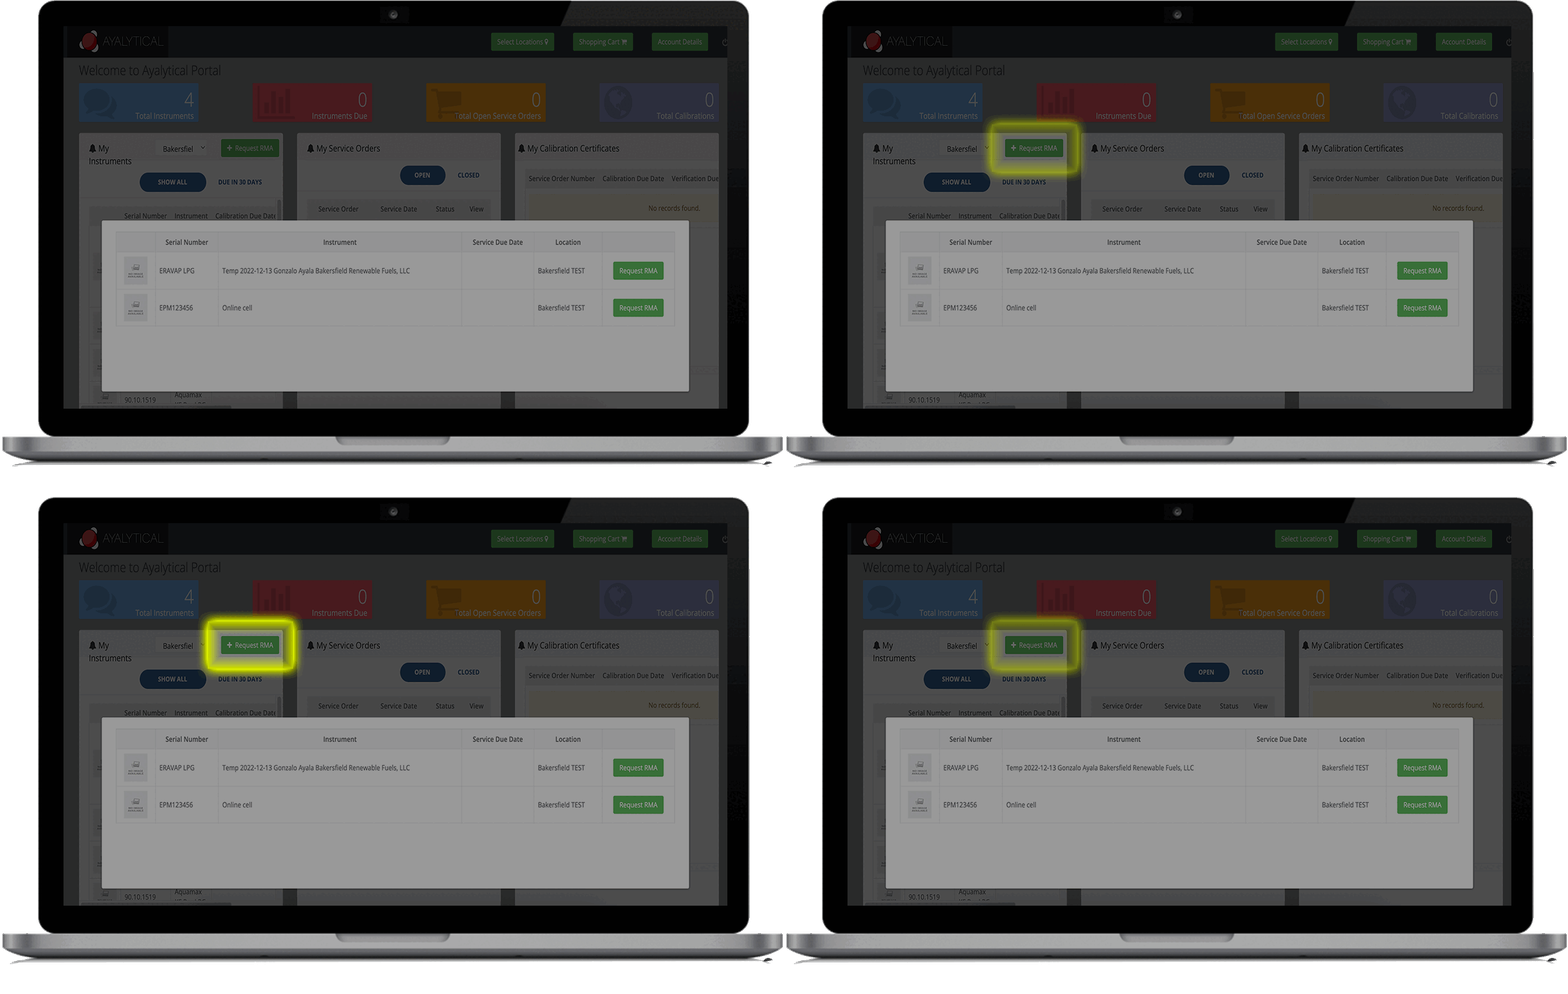
Requesting Return Material Authorization (RMA)
Send in your unit by clicking on request RMA.
